Have you ever wondered how they make those wonderful TASTY-style videos where you are watching them cook and all you see is the hands and the inside of the pot?
Or…
Have you ever tried to shoot a video by holding the phone in one hand while trying to do or demonstrate something with the other hand?
Or are you like me and you know you want to shoot overhead videos, you know it can be done but you don’t even know the name of the equipment to look for and you don’t want to buy something that won’t fit into your existing equipment.
Or…
when you tried watching YouTube videos there were so many complicated looking setups and even the DIY ones may have been cheap but you are not ready to start messing with saws and drills and hammer and nails to get the result you want?
“Aint nobody got time for dat.”
Well…
Fear not my little duckling. I am here to show you how to shoot overhead “top down” videos like the pros using a simple set up and just three inexpensive items you can order on amazon today and be ready to work tomorrow. This brief video recording shows my first test with the setup (unedited)
You can use this setup with any smart phone that shoots video and you don’t have to spend thousands of dollars to get this right.
You can use it for
- cooking and food prep tutorials,
- book and planner video walk throughs,
- drawing or lettering videos,
- flatly pictures and
- demonstrating arts and crafts projects and tutorials.
The parts of this setup are compact so you can store them easily in a cupboard and save space.
Easy to set up and pack up when you are done.
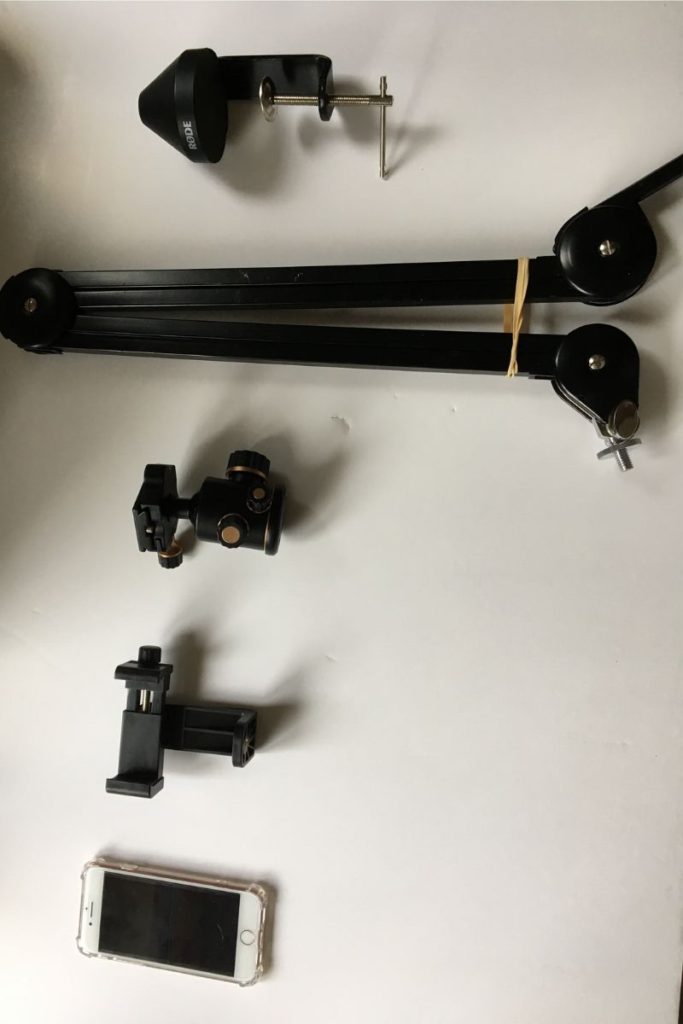
Your setup is made up of just 3 parts:
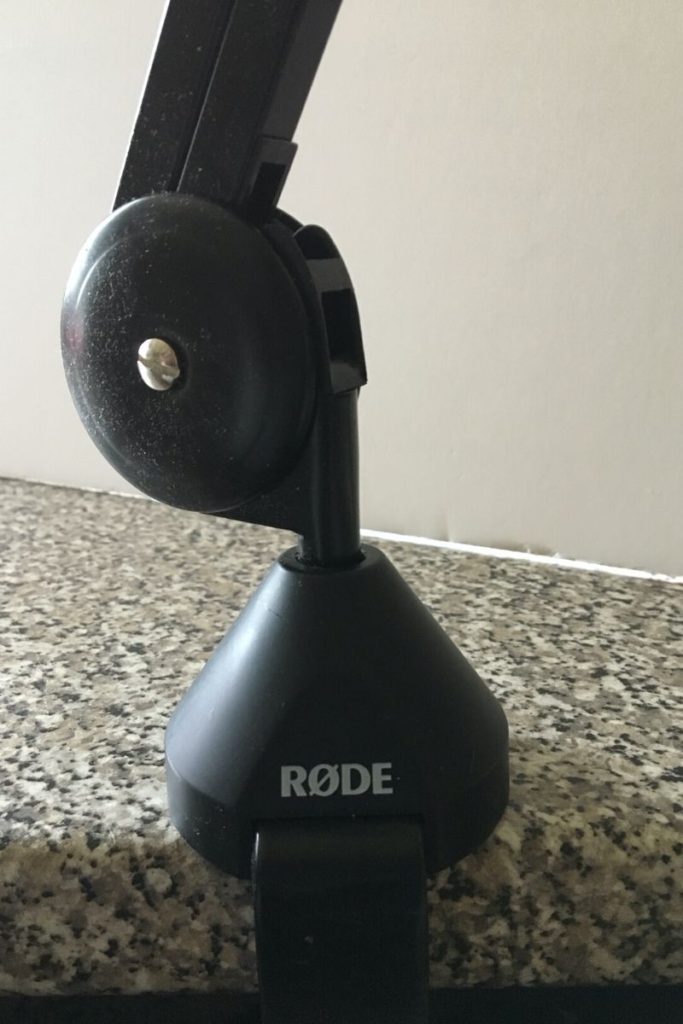
Rode microphone boom arm
Phone tripod mound
and the most important bit that connects the above two items is…
…the camera tripod ball head.
and of course your phone.
(You can find all the links to buy at the end of this post)
All you need to do is fit all the parts together. It is very intuitive and user friendly but basically this is how it works:
- Your phone goes into the phone tripod mount.
- The phone tripod mount connects to the camera tripod ball head.
- The camera tripod ball head connects to the Rode microphone boom arm.
- The Rode microphone boom arm is clamped to the table.
Note: When I was setting up, I did the above list backwards but you can do it in any order that is comfortable for you. The aim is to fit everything together.
The Rode boom arm:
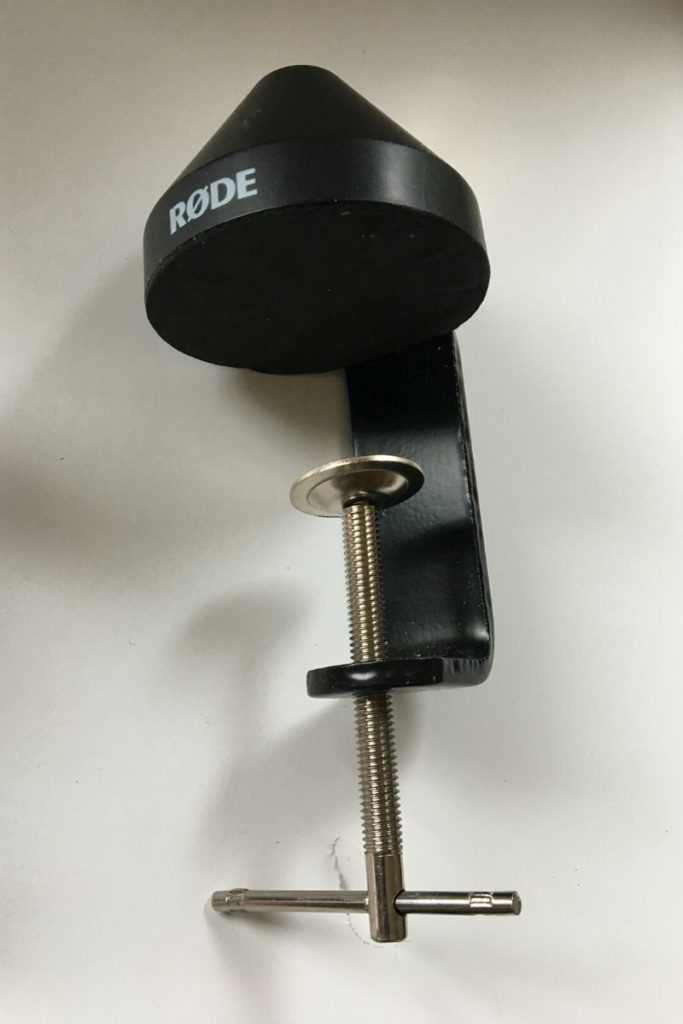
This has a clamp which you attach to the edge of any table. In my case I attached it to the edge of my kitchen worktop. If there is a drawer in the way, you can remove the drawer or do as I do and open the drawer so that the bottom half of the clamp is inside the drawer. Be flexible but make sure it’s well secure and pushed in as far as it can go so it doesn’t fall off your work surface.
-
Slide the clamp onto the table edge and twist the lever of the clamp until it is firmly in place.
PHONE TRIPOD MOUNT:
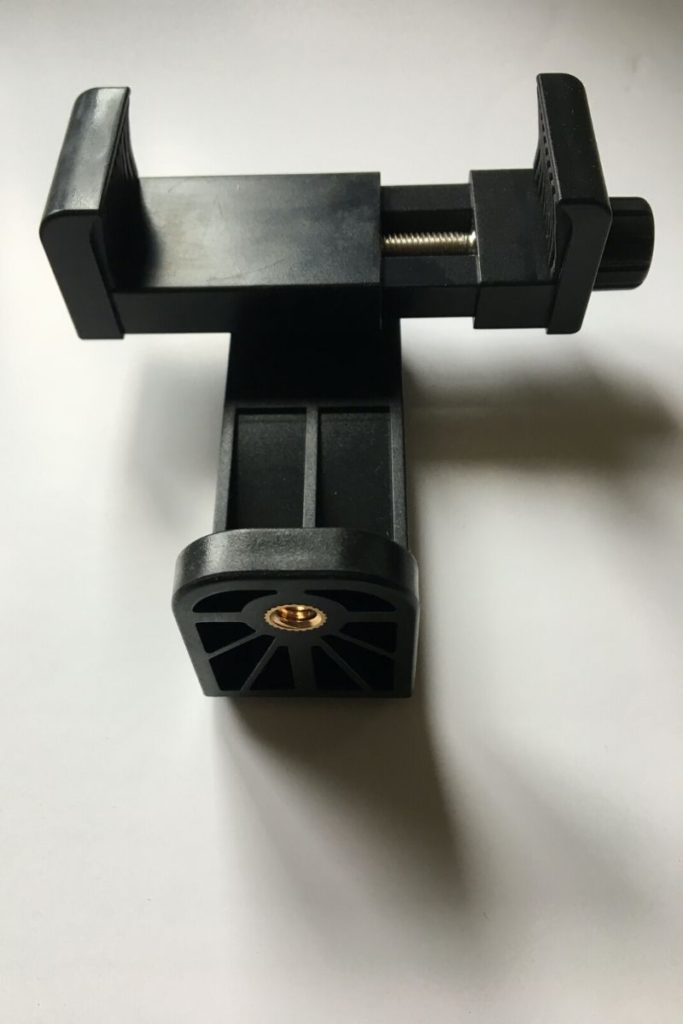
This is what will hold your phone in place.
You will use the knob on the right to secure the phone into the mount because it adjusts to the width of your phone.
You can also use the knob on the back (not shown in picture) to adjust your phone to shoot portrait or landscape.
In this setup, you screw the tripod phone mount onto the tripod ball head.
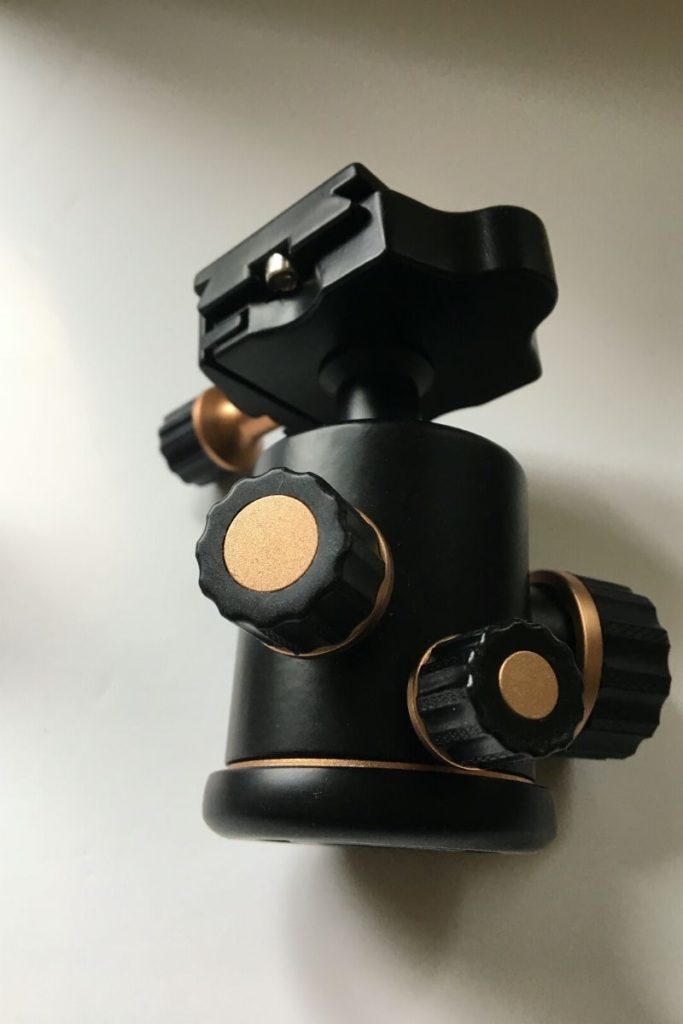
Tripod ball head:
The phone tripod mount screws to the tripod ball head.
The camera tripod ball head has an opening at the bottom which screws onto the silver looking pointy bit on the end of the boom arm (I know I don’t sound very tech-ey but just look on the end of the boom arm and you will see the “pointy silver bit”.)
There are various knobs on the Camera Tripod Ball Head that you can use to adjust the position of the phone.
I suggest you play around with these knobs to get to know what they do before you screw it onto the boom arm.
FINAL NOTES
The boom arm is great because it allows you to push down or lift up the phone (it even moves side to side) to get closer or farther from what you are filming. It also stays in place once you have positioned it.
This arrangement works best with phones. In theory it may work with a bigger camera, however in most cases, the weight of the camera would not allow this to work well.
This is a DIY set up and I am sure there are other things that professional photographers could cobble together to get the same effect.
However, if you just want something that you can set up in 5 minutes, get the job done and pack up and put away, then this is for you.
I plan to use this for some cookery videos for my husband’s upcoming YouTube/instagram videos. Once we are live, I will put links here so you can see more examples of kind of overhead videos you can make.
Your budget for this set up at the time of writing is about £90 (approximately $120) – maybe less if you go bargain hunting on eBay and whatnot.
(disclaimer) I would advice that you use the boom arm and ball head I suggested as I have not tried other brands to know whether they have the same specifications and would fit onto one another (very important). It’s entirely possible but I cannot guarantee it.
Rode Boom Arm: https://amzn.to/3cfjV8H
Camera Tripod Ball Head: https://amzn.to/3a8WJ9U
Phone Tripod Mount: https://amzn.to/2SZuapW


